
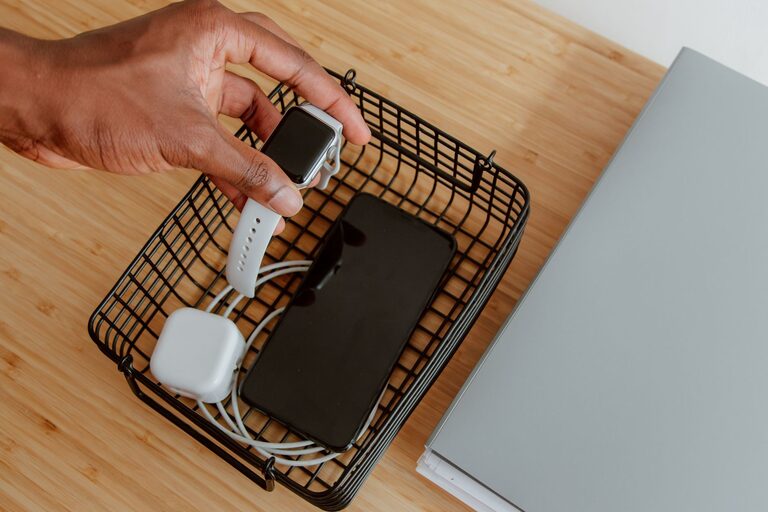
How to Set Up a Charging Station for Your Devices at Home
In today’s digital world, having multiple devices that need charging is common. Smartphones, tablets, smartwatches, wireless earbuds, and even laptops — all require power and can lead to tangled cables and clutter. Setting up a dedicated charging station provides a neat, centralized area where you can power your devices efficiently while keeping your space tidy.
This guide will walk you through the simple steps to create your own charging station at home, highlighting essential tools, setup ideas, and maintenance tips.
Why Set Up a Charging Station?
– Organization: Avoid scattered cables and devices all over your desk or countertops.
– Efficiency: Charge multiple devices simultaneously using one power source.
– Safety: Prevent overheating and reduce the risk of tripping over cords.
– Convenience: Know exactly where to plug and pick up your devices.
Step 1: Choose the Right Location
Think about where in your home or office the charging station will be most useful. Some popular spots include:
– Near your workspace or home office desk
– Living room side table or entertainment center
– Kitchen counter or a nearby shelf
– Bedroom nightstand or dresser top
Look for a location that has easy access to power outlets and is central to where you most often use your devices.
Step 2: Gather Your Supplies
Before setting up, collect the following items:
– Power Strip or Charging Hub: A power strip with surge protection or a multi-port USB charging hub lets you plug in several devices safely.
– Charging Cables: Make sure you have enough cables compatible with your devices. Consider replacing frayed or damaged cables.
– Cable Organizers: Clips, sleeves, or boxes help prevent cables from tangling.
– Charging Stand or Dock: Optional but helpful for keeping devices upright and accessible.
– Storage Containers: Small trays or baskets can keep chargers, adapters, and accessories together.
Step 3: Setup and Organize Your Station
Plug in Your Power Source
Place your power strip or charging hub near the chosen location and plug it into a wall outlet. Make sure there is enough space for ventilation around it.
Arrange the Charging Cables
Connect the cables to the power source and organize them neatly. Use cable clips or Velcro straps to bundle excess length and keep cords from dangling.
Position Device Holders
If using stands or docks, place them so your devices can rest comfortably while charging. This reduces the chance of cables pulling out accidentally.
Add Storage for Accessories
Place any additional items like extra cables, wall adapters, or earbuds in a small container or drawer nearby. This keeps everything within reach but out of the way.
Step 4: Maintain Your Charging Station
– Regularly check cables for wear and replace as needed.
– Keep the area dust-free to avoid buildup around charging ports.
– Unplug devices when fully charged to save energy and extend battery life.
– Rearrange or update the setup as your device collection changes.
Bonus Tips for an Ideal Charging Station
– Label Your Cables: Use labels or color-coded tags to quickly identify which cable belongs to which device.
– Go Wireless: Consider adding wireless charging pads for compatible smartphones and earbuds to reduce cable clutter.
– Use Smart Chargers: Smart charging hubs adjust power output to the needs of each device, protecting batteries and charging faster.
– Choose Stylish Accessories: Select organizers and stands that complement your room decor for a visually pleasing setup.
Final Thoughts
Setting up a charging station doesn’t require much time or money but offers big benefits in convenience, safety, and organization. By dedicating a specific spot for charging and following these steps, you’ll always know where your devices are and keep cords neat and functional.
Whether you’re working from home or want a better way to charge family devices, this simple project can improve your daily routine and reduce electronic clutter. Happy charging!
