
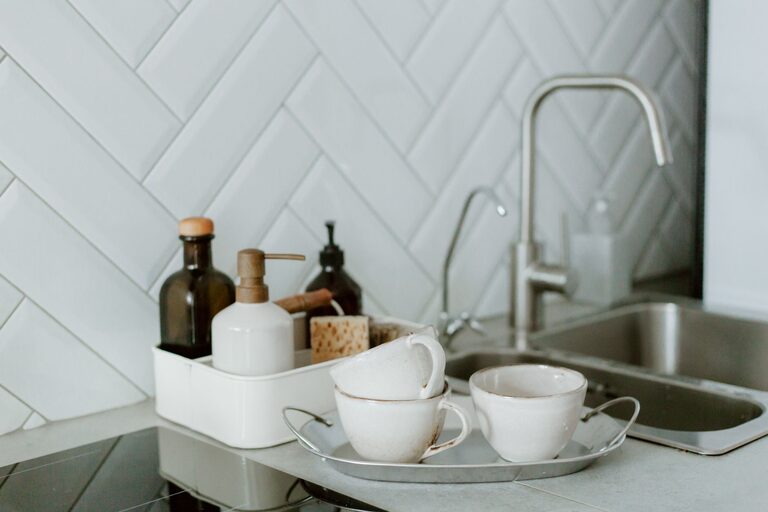
How to Make Your Kitchen Counters Clutter-Free and Organized
Keeping your kitchen counters clutter-free can transform the heart of your home from a chaotic space into an inviting, efficient area. A tidy countertop not only looks better but also gives you more room to prepare meals, clean up, and enjoy your kitchen. If you often feel overwhelmed by the mess on your counters, this guide will help you create a neat and organized kitchen with easy-to-follow steps.
Why Keep Kitchen Counters Clutter-Free?
Before diving into the how, it’s helpful to understand why a clutter-free kitchen counter is valuable:
– Improved functionality: More space to work makes cooking easier and more enjoyable.
– Easier cleaning: Clear surfaces are quick to wipe down and maintain.
– Better safety: Less clutter reduces the chance of accidents with sharp or hot items.
– Enhanced aesthetic: A neat kitchen feels more welcoming and visually appealing.
Step 1: Clear Everything Off and Clean
Start by removing all items from your counters. This gives you a fresh slate and helps you see exactly what you have. As you clear, sort items into categories:
– Daily essentials (coffee maker, toaster)
– Occasionally used appliances (mixer, blender)
– Non-kitchen items (mail, keys)
– Trash or items that belong elsewhere
Once cleared, give the counters a thorough wipe down with a gentle cleaner to remove crumbs, spills, and stains.
Step 2: Declutter and Evaluate What to Keep
With everything laid out, decide what truly needs to stay on your counters. Consider these questions:
– Do I use this item daily or multiple times a week?
– Does this belong in the kitchen at all?
– Can this be stored inside a cabinet or pantry instead?
Items that don’t fit these criteria should find a new home or be removed from the kitchen entirely. For example, rarely used appliances or specialty gadgets are usually better stored away, freeing up valuable counter space.
Step 3: Establish Zones on Your Countertops
Organizing your countertops into zones can improve flow and keep things orderly. Common zones include:
– Prep zone: Space for chopping, mixing, and food prep.
– Cooking zone: Near the stove, a spot for utensils, spices, and oils.
– Cleaning zone: Near the sink, for soap, sponges, and drying racks.
– Breakfast or beverage zone: For coffee makers, toasters, or fruit bowls.
By designating areas, you’ll naturally keep items related to each activity grouped together and reduce unnecessary wandering or clutter.
Step 4: Use Functional Storage Solutions
Smart storage keeps essentials accessible but contained. Consider these options:
– Trays or baskets: Corral small items like oils, salt, pepper, and utensils to keep them neat and easy to move.
– Canisters and jars: Store frequently used staples such as sugar, flour, or coffee beans in clear containers for quick access.
– Wall-mounted racks or hooks: Save counter space by hanging mugs, utensils, or spice racks on the wall.
– Under-cabinet shelves: Utilize vertical space for items like knives or small appliances.
– Drawer organizers: Keep drawers tidy to reduce the need to store items on counters.
Choose containers and organizers that fit your kitchen’s style and size to maintain a cohesive look.
Step 5: Limit the Number of Appliances on Display
It’s tempting to showcase every appliance, but keeping only daily essentials on your counters reduces clutter. Store extra appliances inside cabinets or pantry shelves.
If you love certain appliances as decorative pieces, choose one or two favorites and keep the rest stashed away.
Step 6: Develop a Daily Counter Maintenance Routine
Once you’ve decluttered and organized, it’s important to maintain your counters. Here’s a simple daily routine:
– Wipe down counters before and after cooking.
– Put away items immediately after use.
– Remove any non-kitchen items that find their way onto counters.
– Check for and discard expired or unnecessary items weekly.
Consistency keeps clutter from building up again over time.
Bonus Tips for a Clutter-Free Kitchen Counter
– Use vertical storage: Don’t forget that walls and cabinet undersides can hold storage baskets and racks.
– Keep decorative items minimal: A small plant or a single bowl of fruit can add charm without creating clutter.
– Clear mail and papers immediately: Have a dedicated spot for mail and paperwork outside the kitchen.
– Use clear containers: Clear storage containers help you see what’s inside without opening them.
– Evaluate your kitchen habits: Adjust routines that lead to clutter, like leaving dishes or bags on counters.
Final Thoughts
Making your kitchen counters clutter-free is a gradual process that combines decluttering with thoughtful organization and daily habits. By clearing unnecessary items, creating designated zones, and using smart storage, you can maximize your kitchen’s functionality and beauty. Remember, the key is to keep only what you need and use often, and to maintain your organized space with simple daily routines.
Start today by clearing your counters and enjoy the benefits of a clean, organized kitchen tomorrow!
